
I don’t know about you but I hate to throw away perfectly good containers. And to tell you the truth, I thought all was lost with my jelly, salsa and pasta jars because they all have those pop-top lids – you know the lids that make that 'phttt' sound when you open them? Due to the jars being vacuum sealed by the manufacturer (or the jar elfs or whomever) and only close ‘hand-tight’ after opening them - deeming them only so-so ‘air-tight’ I figured if anything they could be used for things that did not require an air tight seal.
But what a waste right? I had far more need for ‘sealed’ items than unsealed items. So, in my stubbornness, I wouldn’t let it go. I began researching and researching to come up with the answer.
And I did! *grin* If you have heard me speak about my remedy for sealing mason jars when there is no electricity by using a brake bleeder, a food saver vacuum tube and food saver lid caps (you can order these items on my survival items above), well this is along the same concept. But with this you can use a vacuum sealer OR the brake bleeder.
The things you will need (again this is not exert advice I am giving, it is me sharing a little trick I learned):
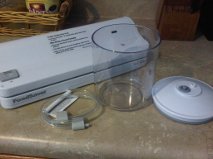
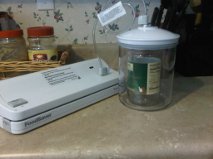
A vacuum sealer (as you can see I do NOT have a fancy-shmancy one – in fact I bought this one at a garage sale for $5 - love me a good deal!), a vacuum sealer tube and a vacuum sealer container (or a brake bleeder instead of the vacuum sealer.)
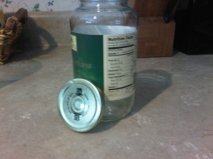
Next find you a jelly or pasta jar with a pop-top lid to "practice" with.
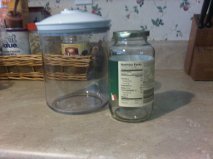
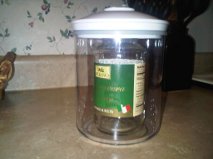
I bought my vacuum sealer containers on Amazon and they came in three sizes. So make sure your jelly or pasta jar fits nicely in the container with air space at the top. As you can see the container I used allowed about an inch to an inch and a half head-space.
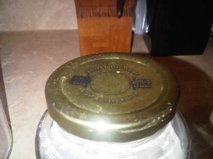
Tighten the pop-top lid snug (I had to do this a couple of times until I got a feel for what "snug" is).
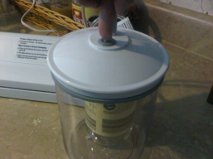
Place the jar with the snug lid into the vacuum sealer container and make sure the lid on the container is placed on properly as well.
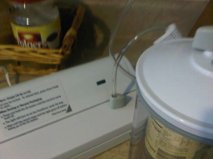
Insert the vacuum tube into the vacuum sealer container and the vacuum sealer itself.
Make sure that both ends of the tube are tightly in the container and vacuum sealer.
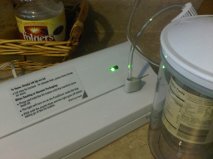
Push the power button (or whatever button you use) to extract the air from the container. Sometimes I will do this a couple of times depending on how big of a container I use (if there is a lot of air space between the jar and the container)
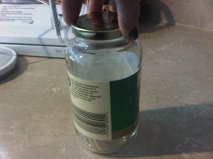
When the vacuum sealer stops indicating the air has been removed, press the button on the lid of the container (or whatever means your container has to release the lid). When you press the button the pressure will cause the jelly/pasta jar pop-top lid inside the container to pull down and seal (sometimes you'll hear that pop sound like canning jars make). Its pretty neat to watch the lid pull down.
And there you have it! A sealed jar with a pop-top lid!
Now if you are a 'Doubting-Thomas' go ahead and open the jar lid so you can hear that ol' familiar 'phttt' of the lid (I did!)
You can get your vacuum sealer containers (3), vacuum sealer and tubing here:
Just sayin'
- Survivor Jane

If you have any questions, or would like to see a specific article addressing survival preparedness for women on SurvivorJane.com click here
Or contact Survivor Jane at editorial@survivorjane.com
Follow me on Twitter @SurvivorJane and by using the hashtag #PrepperTalk where you will find a Community of Prepared-Minded People
Thank you in advance for sharing Survivor Jane with all your friends and family!